How It Works
From soil test to fertiliser plan in a structured workflow.
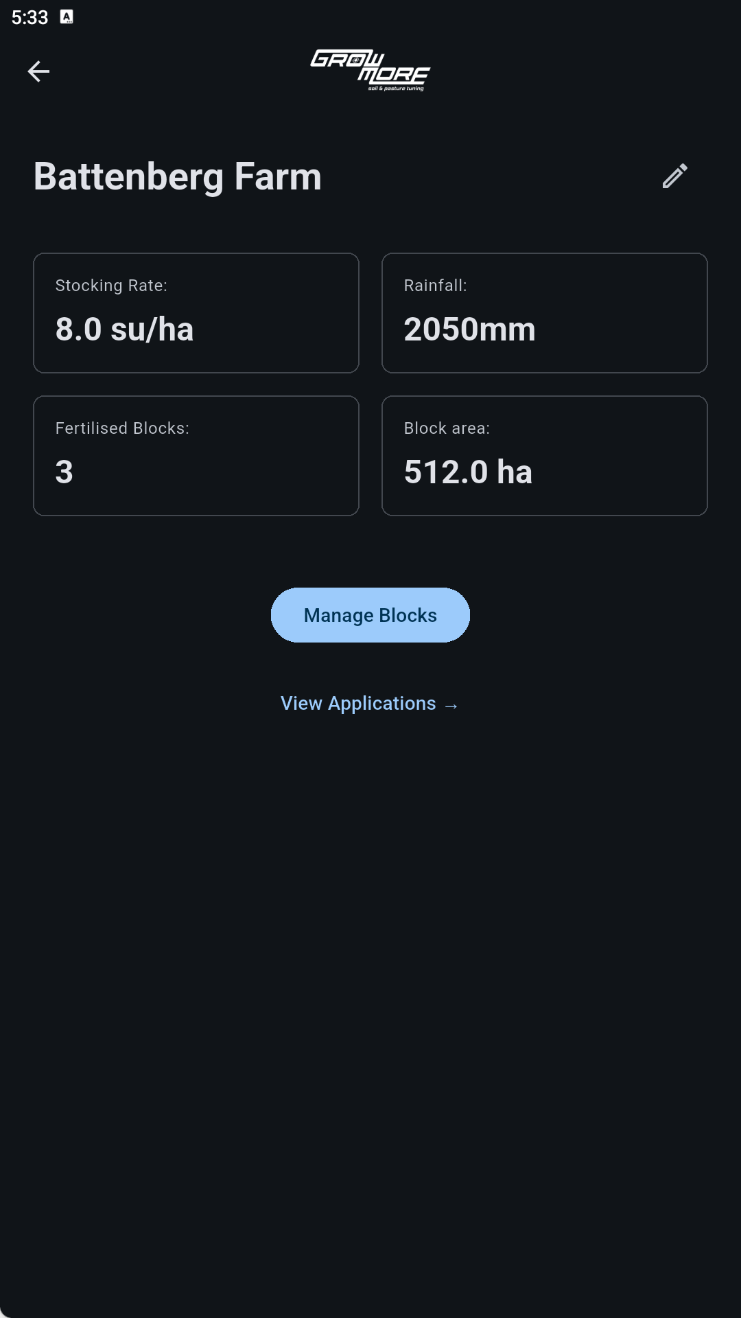
Set up your Farm
Provide the context the app needs to work...
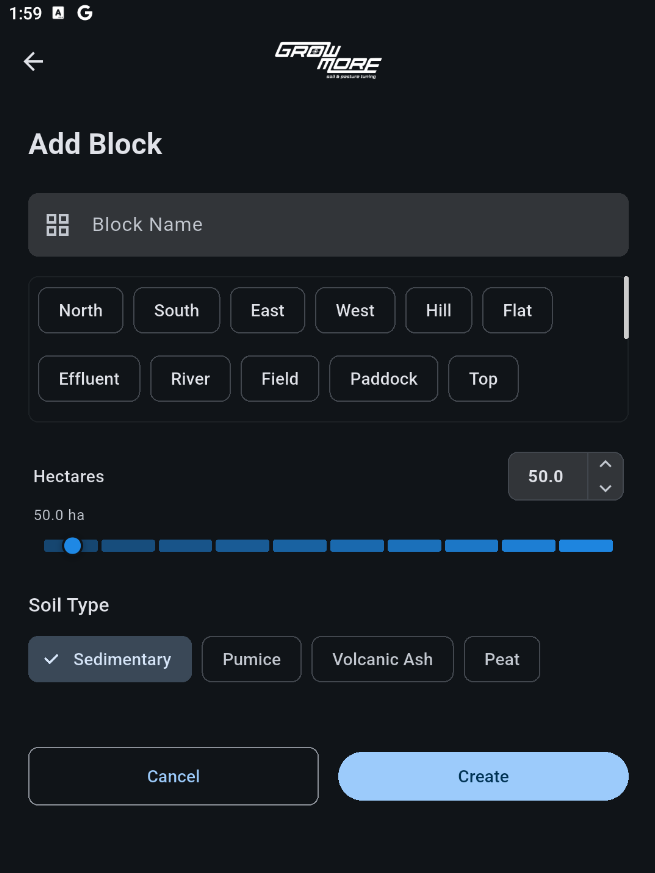
Create blocks
Select the size and prevailing soil type...
Choose which blocks you want to create a fert application for...

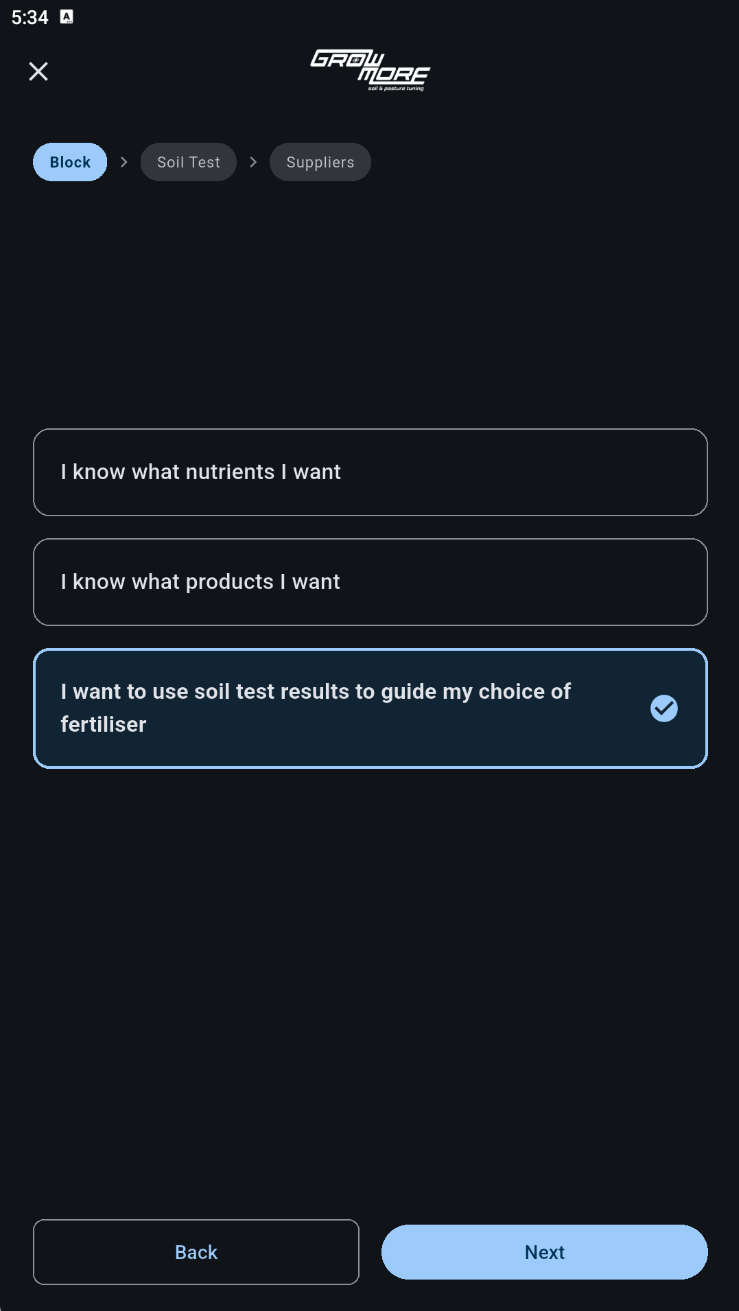
Its good to have options - right?.
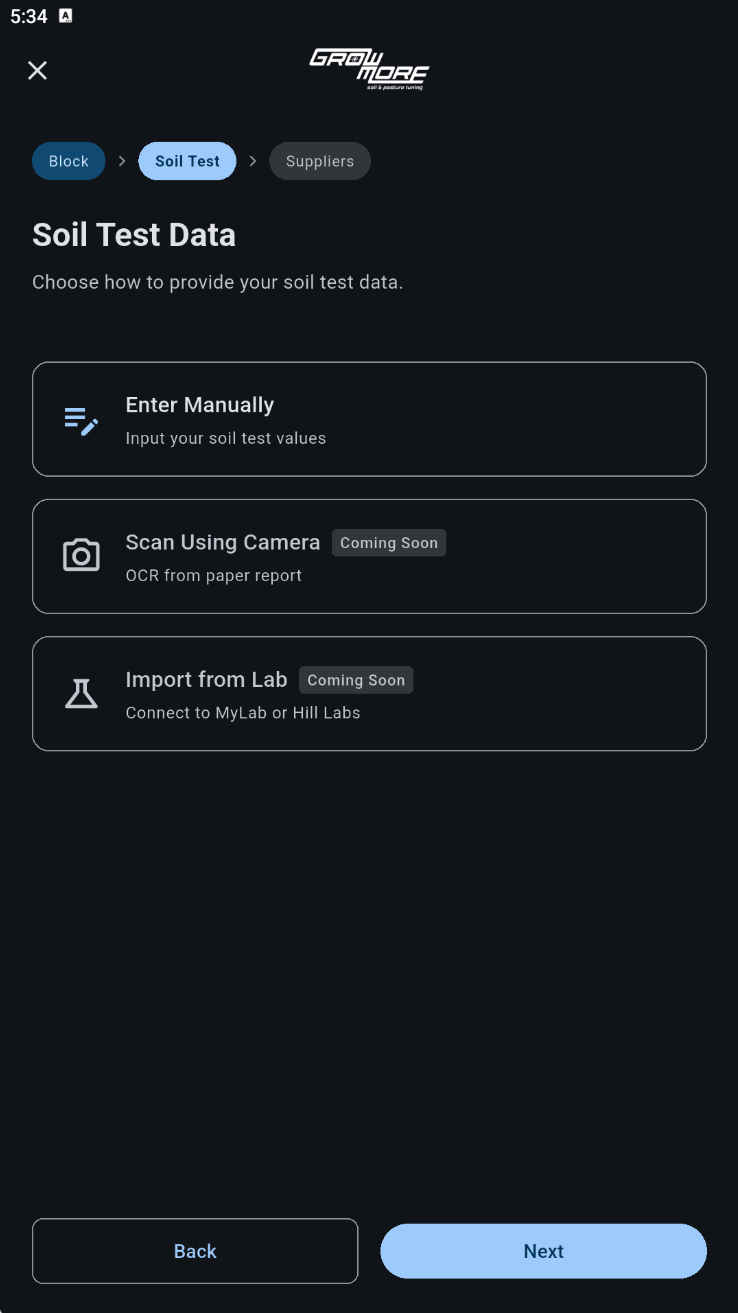
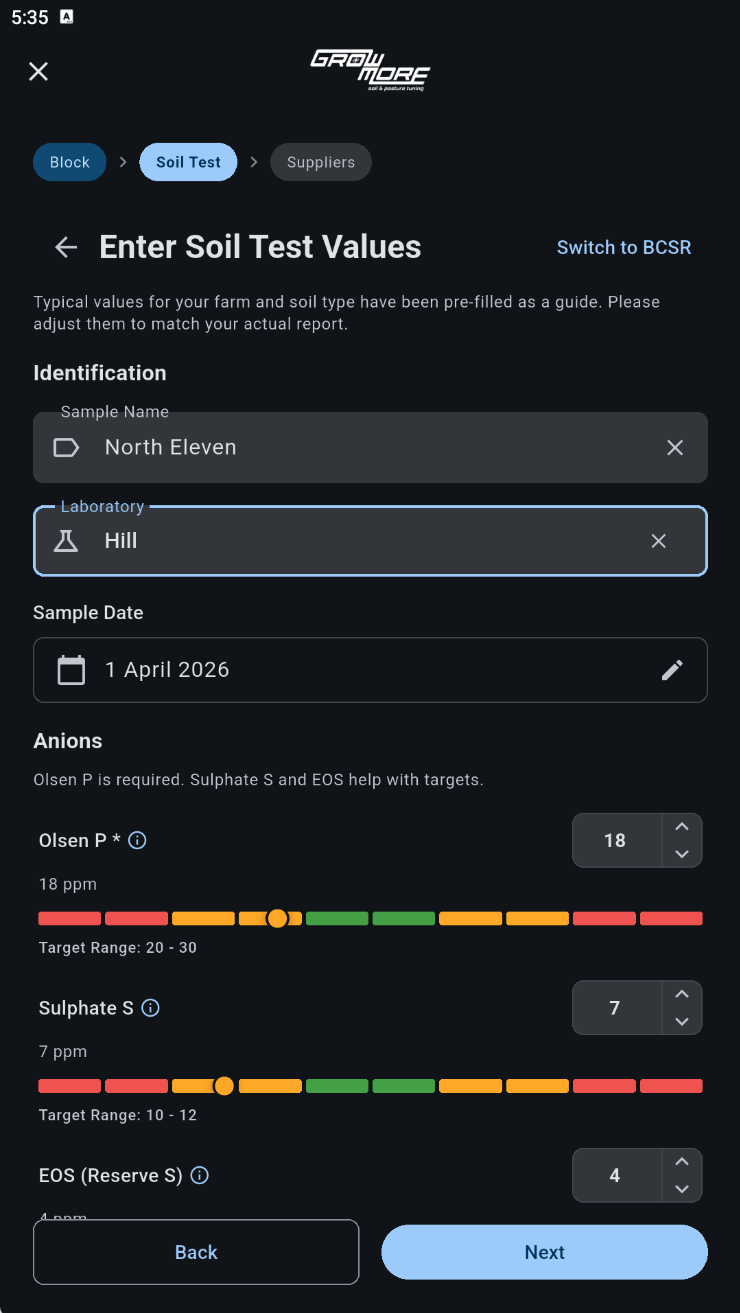
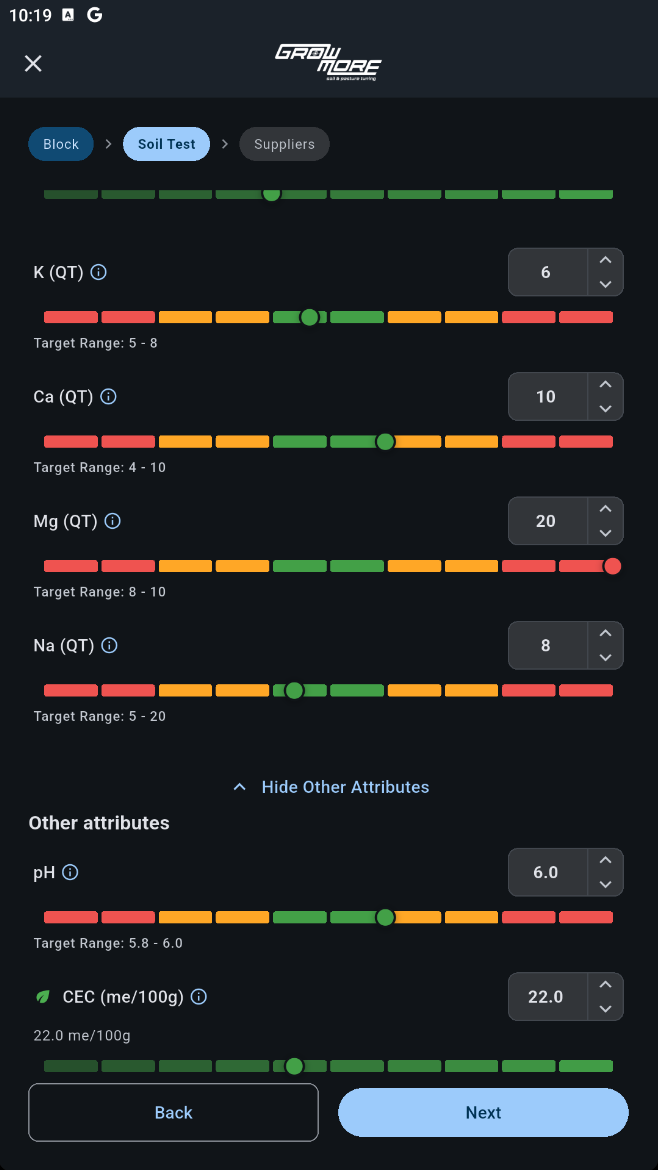
Its all in the numbers....
The app requires 12 inputs from your soil test to work...
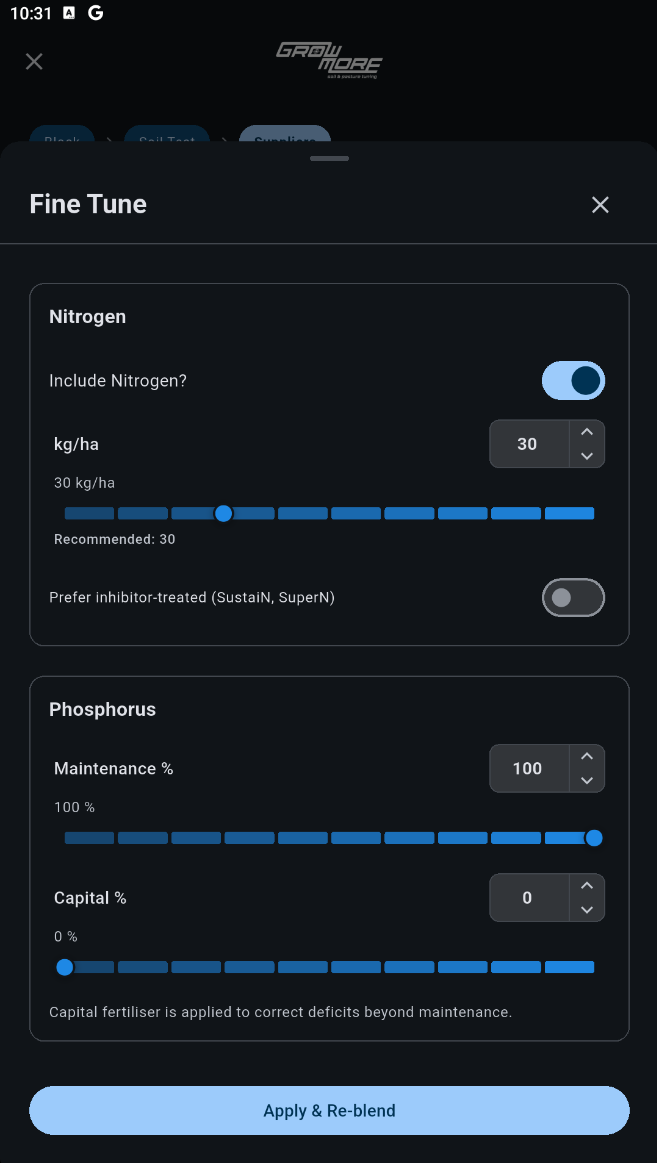
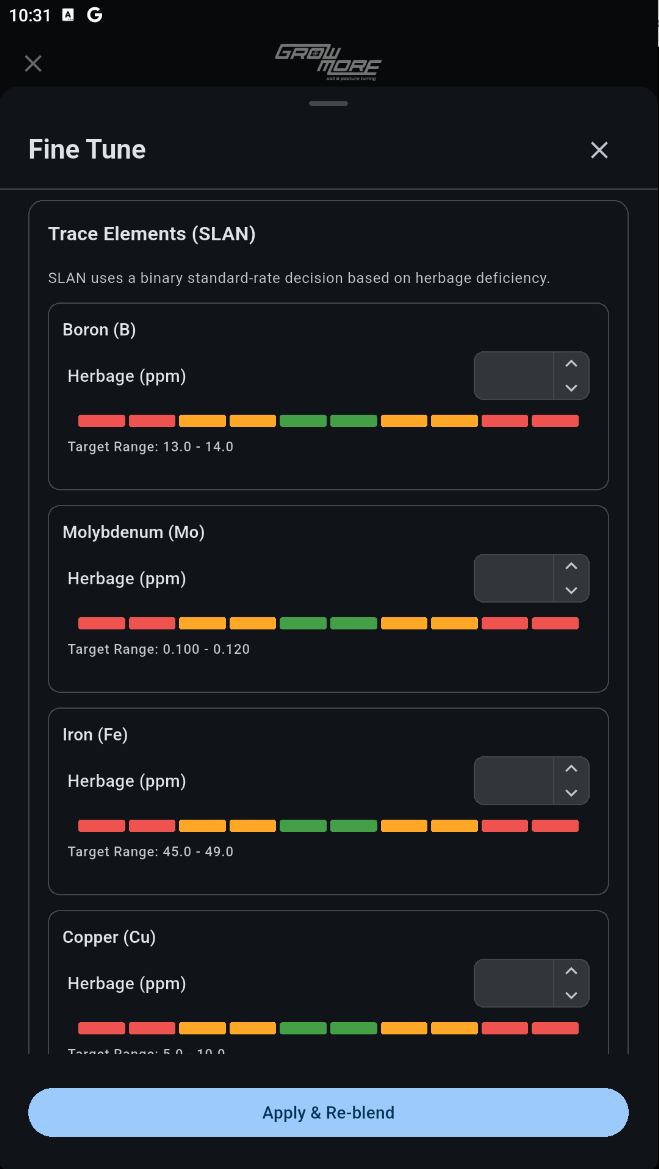
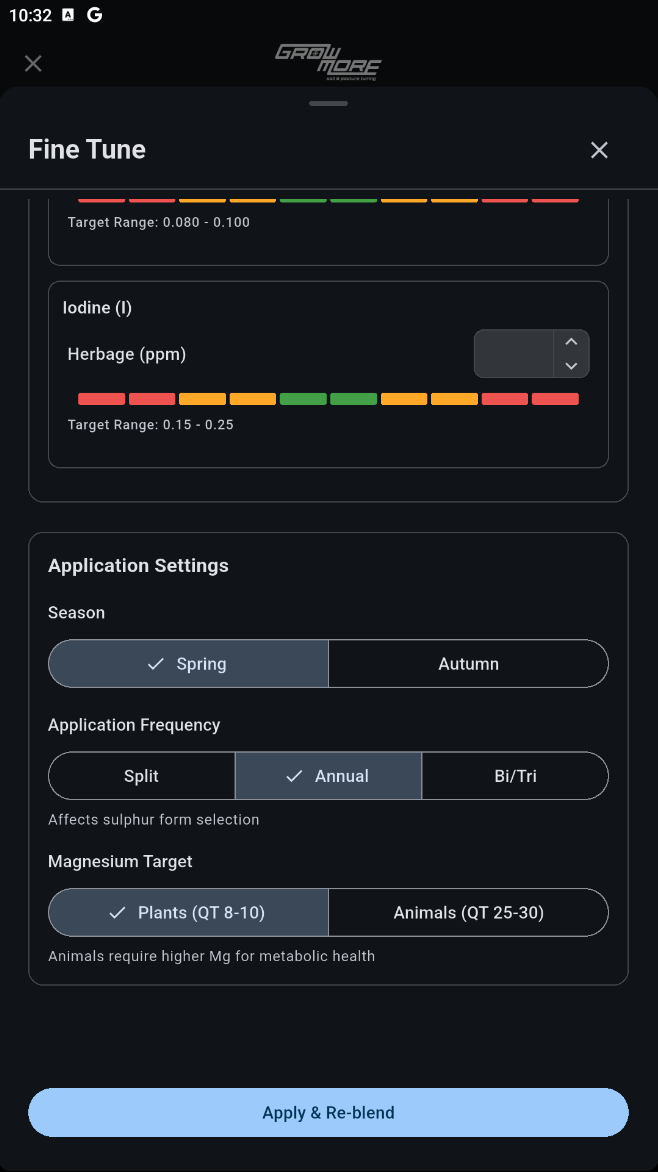
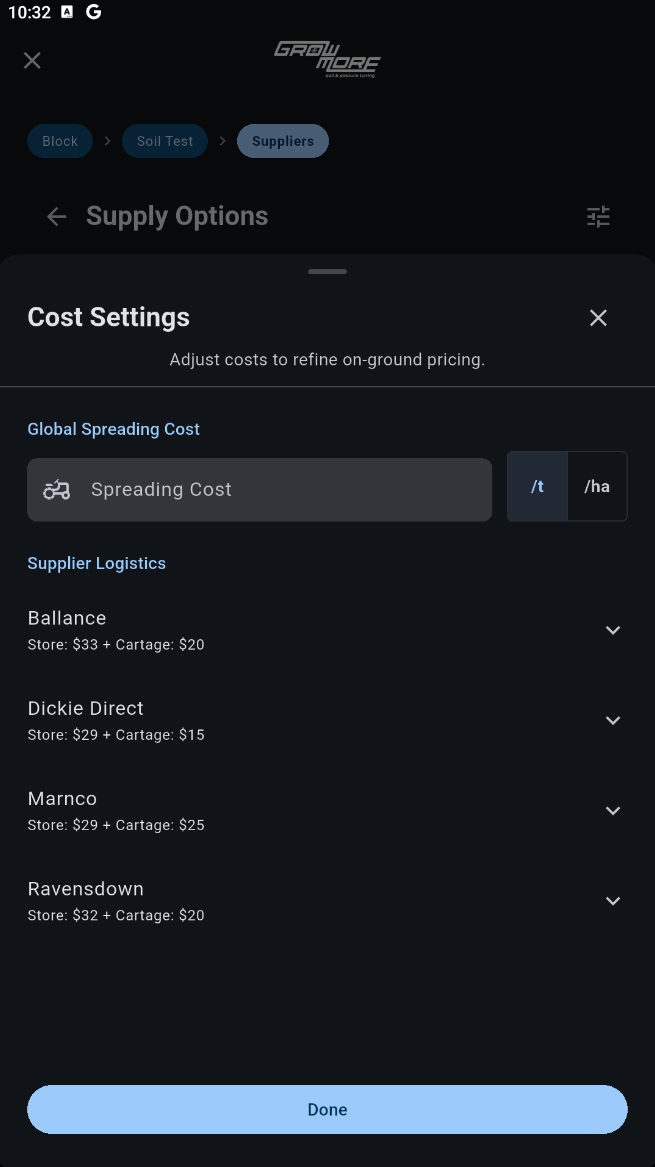
Options! Who to choose?

Refine your estimated on ground costs here..
One workflow. Full visibility. Clear decisions.